It's been almost a month since I started using EtinAI, and I've received many questions from friends in the background. The most common ones are 'Why is my photo inaccurate?' and 'I found it troublesome after two days and left it unused.'
To be honest, I also stumbled a lot in my first three days. Taking a casual photo of food, sometimes the portion estimation was way off, sometimes it even misidentified the ingredients. I almost put it in the 'IQ tax' folder. Later, after studying the features for a few days and trying different shooting methods, I realized that many people aren't using it correctly.
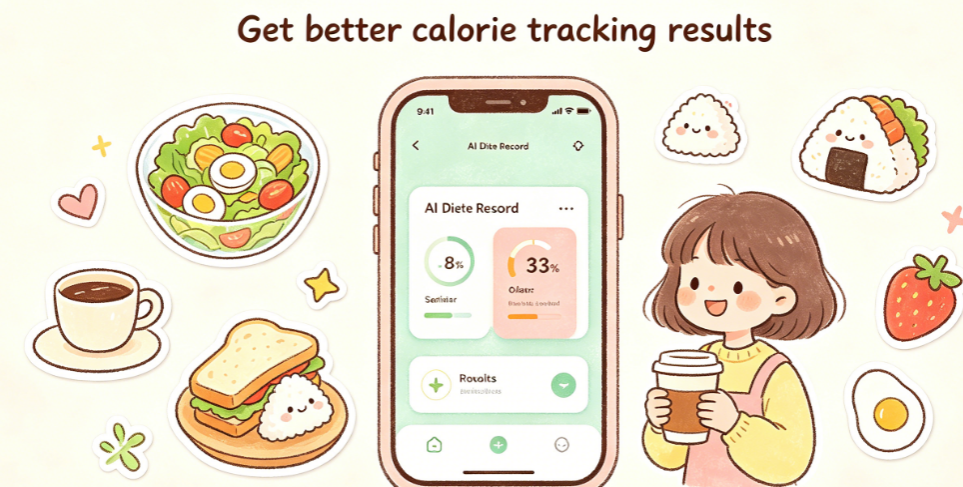
Today, I've compiled all the practical tips I've gathered. These are actionable tips that you can apply immediately without extra time, and they will directly improve accuracy and user experience.
First, solve the core problem: how to shoot for the highest recognition accuracy
Many people say it's inaccurate, but eight times out of ten it's a shooting issue. At first, I foolishly placed the reference card far behind the bowl, and the recognized portion was off by nearly a third. Later, I figured out the correct method.
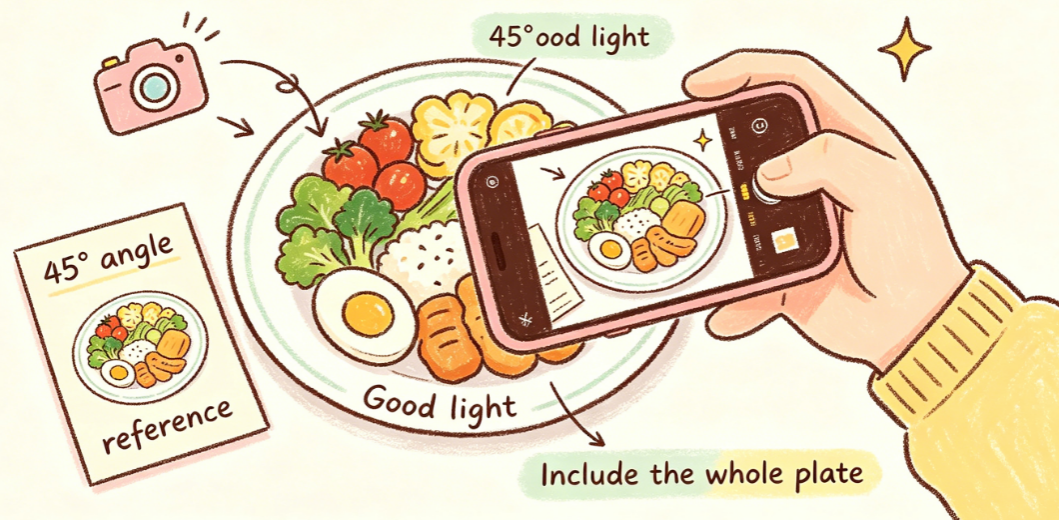
First, let's talk about the 5×5cm reference scale that most people overlook. The core purpose is to give AI a size reference, so the reference object must be placed on the same plane as the food, right next to the bowl. Don't place it far away or stack it on top of the food. For daily use, you don't need to bring a special card; the short side of a bank card or business card is close to 5cm wide. Just put it next to the food, and accuracy will improve significantly.
Next is the shooting angle. Don't shoot straight down from above, and don't shoot from a distance at an angle. Hold your phone at a 45-degree angle, level with the food, and capture the entire portion in the frame. Don't cut off half the bowl. I compared the same lunchbox: the calorie results from a top-down shot and a 45-degree shot differed by nearly 100 kcal.
There are also a few easily overlooked details: try to shoot in good lighting; in dim light, food looks blurry and AI won't recognize it well. For mixed dishes like spicy hot pot or stir-fry pot, separate the ingredients a bit so the main ones are visible, not buried in the soup.
After making these adjustments, my daily home-cooked meal recognition accuracy is consistently around 90% accurate, which is more than enough for daily reference.
Five high-frequency scenarios: how to use them most conveniently

Over this period, I've tried almost all daily eating scenarios, and each has time-saving tips so you don't have to think too hard every time.
For office workers who often order takeout: don't open the packaging and mix it first. Take a photo of the whole meal, then separately photograph the sauce packets and individually packaged side dishes. I used to ignore the calories in salad dressing, but after shooting a Caesar dressing packet once, I found it had over 200 kcal. Now I always ask for dressing on the side and control how much I use, saving a lot of hidden calories.
For cafeteria goers: don't be shy about taking a photo of your meal. Find a spot by the window or under bright light, and it takes just two seconds. Even if the dishes and rice are mixed together, as long as the main ingredients are visible, it can usually recognize them. No need to separate them.
Convenience store meals are even easier. For packaged rice balls, sandwiches, and milk, just take a photo of the package itself. Recognition is faster than shooting the food, and the data is more accurate. For loose items like oden or grilled sausages, put them on a plate before shooting; don't shoot through the cold case.
If you cook at home, take a photo of the raw ingredients before cooking, then take another photo of the finished dish. Comparing the two helps you track portions accurately. If you make a big pot, just shoot the portion you serve yourself; no need to calculate the whole pot.
For out-of-control scenarios like group dinners, don't shoot the whole table. Instead, take a photo of what you put on your plate, and count only what you eat. Don't aim for pinpoint accuracy; having a general idea prevents post-meal anxiety and keeps you from giving up entirely.
Don't just stare at calorie numbers; use it to truly improve your diet
I've seen many people use calorie tracking apps, obsessing over numbers every day, feeling guilty if they eat a few extra tens of calories. That completely misses the point. Over this period, I think its greatest value isn't calculating precise calories, but helping you understand your own eating patterns.
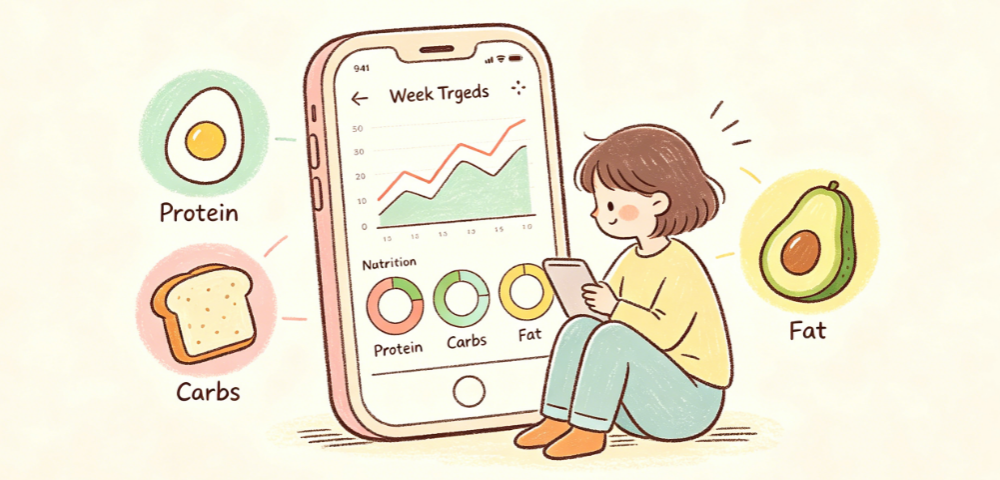
First, don't fixate on single-day calorie numbers. Having an extra slice of cake today and eating a bit less rice tomorrow is totally normal. Looking at weekly averages of calories and nutrient ratios is much more meaningful. I usually review my weekly records on weekends to see which days I lacked vegetables or protein, then adjust the following week.
Second, focus on macronutrient ratios, not just total calories. I used to think I didn't eat much, but I was always hungry. Checking my records, I realized I was eating carb-heavy meals and very little protein. After consciously adding an egg or an extra serving of meat to each meal, my satiety improved significantly, and I no longer needed afternoon snacks.
The most practical use is finding your dietary blind spots. For example, I always thought drinking a milk tea in the afternoon was no big deal. But after photographing it once, I found that a full-sugar milk tea had almost as many calories as half a main meal. I switched to 30% sugar or limited it to once a week. Without deliberate dieting, my overall calorie intake dropped.
Simply put, it's a mirror—it helps you see eating habits you usually overlook, instead of putting you in a cage.
Is the free version enough? Tips to maximize it
Many people ask if they need to subscribe. I haven't upgraded yet, and the free version is perfectly sufficient for daily use.
Let me break down the math: the free version's daily recognition count is enough for three meals plus an afternoon snack. You won't run out mid-session. Core features like photo recognition, calorie and macronutrient data, and cross-device sync are all free with no ads and no pop-ups pushing you to pay.
I specifically compared paid features: they include more detailed micronutrient analysis, data export, and longer history. Unless you're a fitness enthusiast needing meticulous dietary management or you want to export your data for analysis, the free version is enough for everyday tracking.
One more detail: by default, privacy settings store data locally, not uploaded to the cloud. Only you can see what you eat. No need to adjust settings—it's very privacy-friendly.
Finally, to be honest, it's just a dietary aid for ordinary people. Don't expect it to be as precise as a lab, and don't treat it as a necessity for weight loss.
If you want some awareness of your diet but find manual calorie counting too tedious and don't want the pressure of check-ins and goals, following my methods above will save you a lot of hassle. But if you're preparing for a competition and need calorie control down to the gram, a food scale is more reliable.
Tools, after all, should be convenient. If it helps solve your problem, it's worth it.
Comments
Leave a Comment